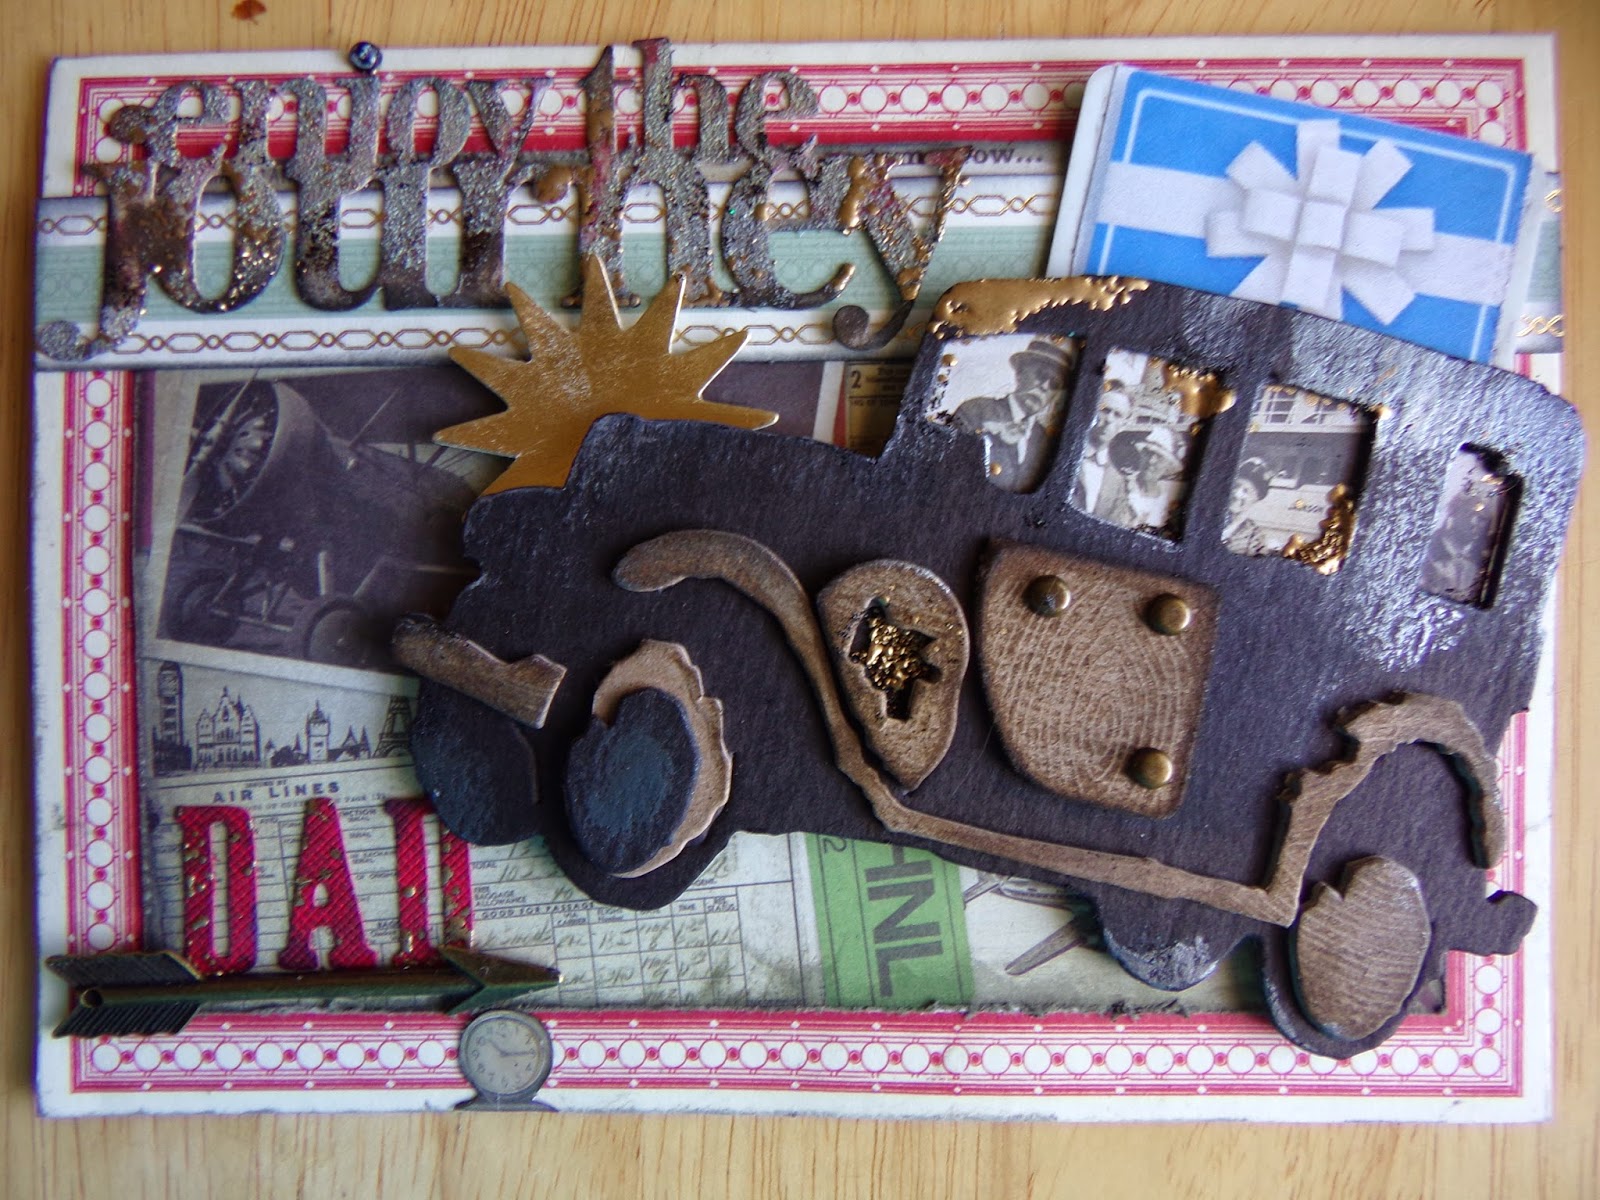
I made a fake gift card - there is a sleeve behind the card to hold the card in place, the car is Pop-Dotted up for more dimension.
Without the gift card
The door and "wood" trim is cut out of kraft colored chipboard and stamped with a wood texture stamp using walnut ink stain, the "enjoy the journey" "dad" and Old Jalopy are Tim Holtz die cuts, embossing powder is Distress Powder in Pumice Stone and the gold accents are Gold UTEE (Ultra Thick Embossing Enamel) - the background paper is Tim Holtz, the card base, gold foil starburst and blue/white/gold border is Anna Griffin from her "Just for Him" card kit. The faces in the window and the tiny clock is cut from Tim Holtz papers, the brads & arrow are from my stash, but a similar style arrow embellishment is available from Tim Holtz. Background paper is distressed with TH Distress Tool and Pumice Stone Distress Ink is on the edges. Red cardstock that "DAD" is cut from is Bazzill. Car door was a handcut addition.
.JPG)


.JPG)


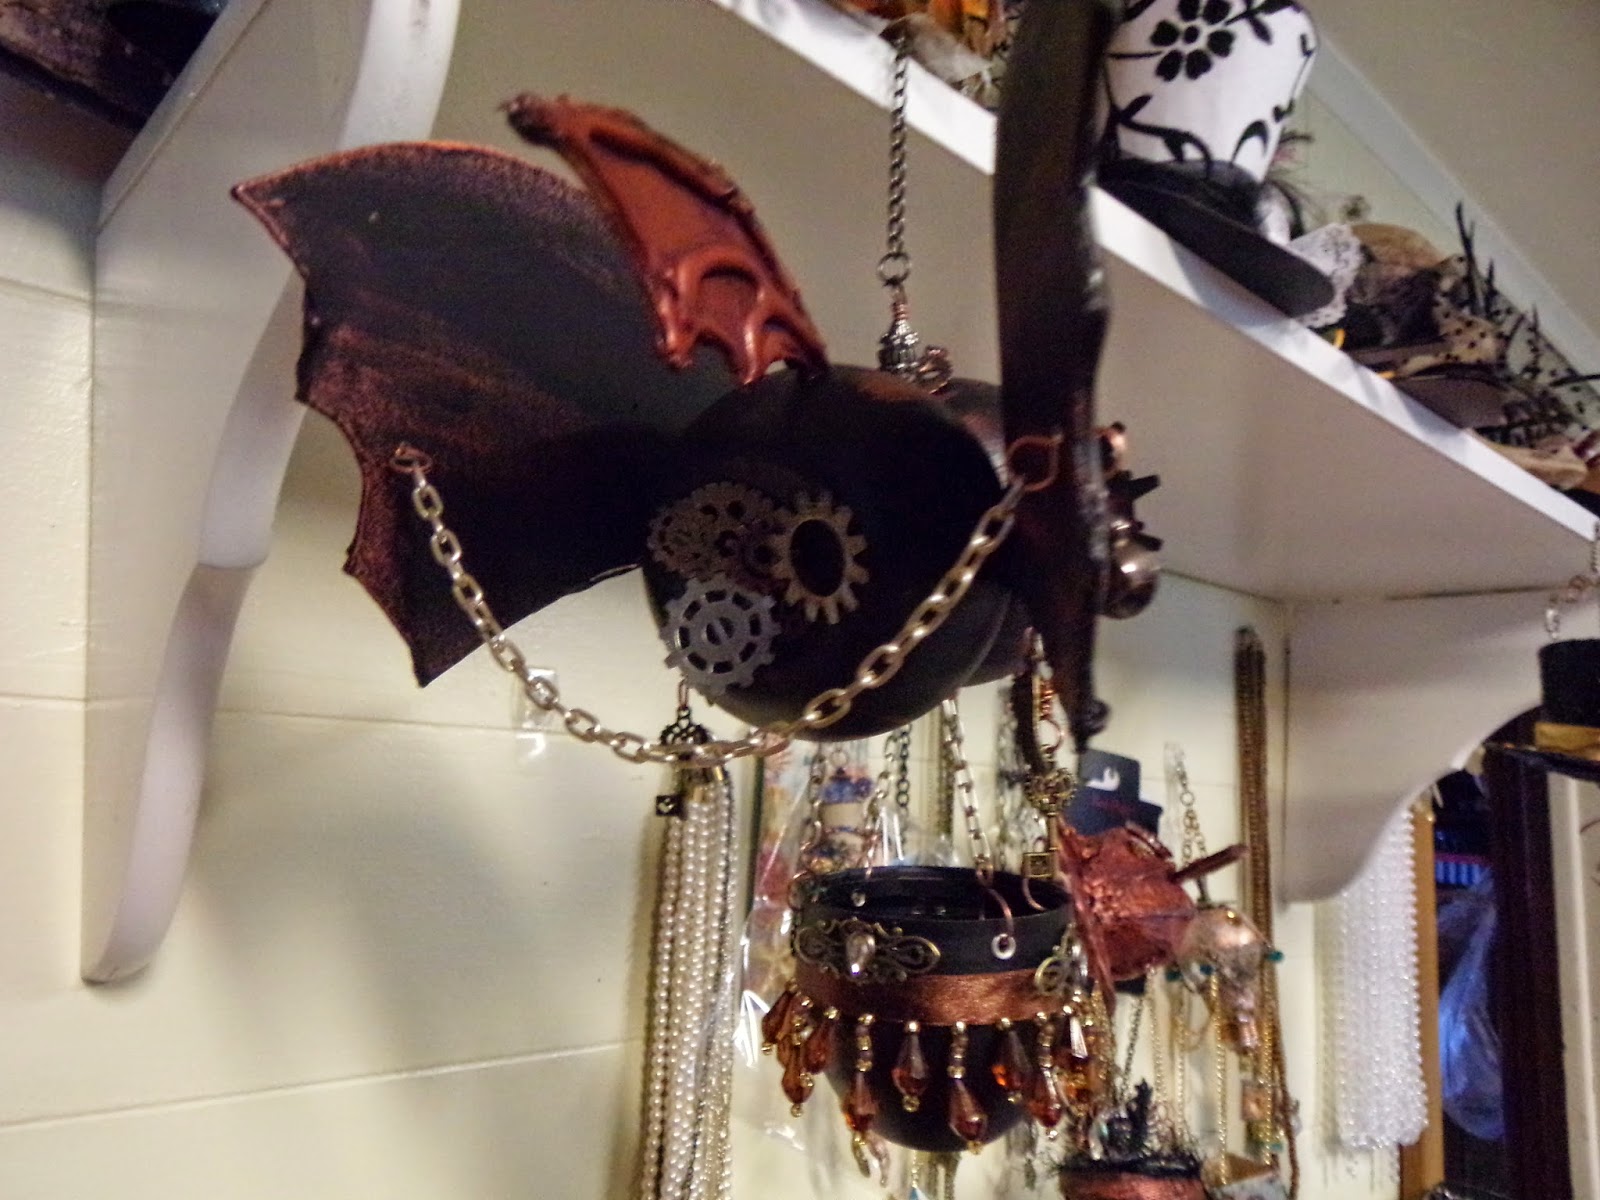
 Was playing around with the texture paste on the back plate, but here you can see where I punched a hole in the back plate with a We R Memory Keepers Big Bite and glued a battery operated tea light on with E6000 glue.
 Just a better mushroom view :D