Wednesday, December 10, 2014
Tim Holtz Woodland Pine Tree and Boughs Tussie Mussie Night Light for the Winter Season
Total length from top of pine boughs to bottom of beaded dangle is about 17". Used thin chipboard and cut the Tussie Mussie form, added the paper and cut out the inset shape using one of Tim Holtz Sized Arch dies. Painted inside the Tussie with white, crackle medium, then brown. Formed Tussie Mussie cone shape. Made a loop from stiff wire and hot glued it into the bottom of the cone to hang the bead dangle. Cut the smallest and the largest circles of his Sized Circles dies from medium/heavy weight chipboard - glued the smallest toward the bottom of the Tussie for the Woodlands tree (and faux snow) - cut a center circle out of the big circle and glued a battery operated tea light where the switch was accessible. Then I glued the large circle with tealight in place over the tree. Covered the "platform" with dried moss & glued in some realistc looking pine boughs and cones - decorated with some scraps of lace from my stash. Tree and green lace are sprayed with Tim Holtz Adirondack Color Wash sprays.
Friday, November 14, 2014
That Vampire Feeling -- Gothic Style Tussie Mussie with Sizzix Wings Tim Holtz Alcohol Inks Inka Gold Rub
This was a fantastic fun creation to make for one of my niece's birthdays to fill with some bday surprises. The face is a Prima Resin piece altered with alcohol inks and Inka Gold pigment rubs. The veins are also colored in a similar fashion - used an Anna Griffin embossing folder for the aluminum cover on the wings.
Wednesday, October 29, 2014
Clean and Organized Craft Space?
I try to keep my home basically clean and organized, with one exception - my craft tables! My husband often says he doesn't have a clue how I find anything in my craft area. I found several similar quotes attributed to a variety of authors (so I don't know who originally said something similar) but it perfectly expressed my sarcastic response. I applied it to a photo of my crafting / studying spot I took this morning while working on a Halloween wand ... mwhaha
Sunday, October 26, 2014
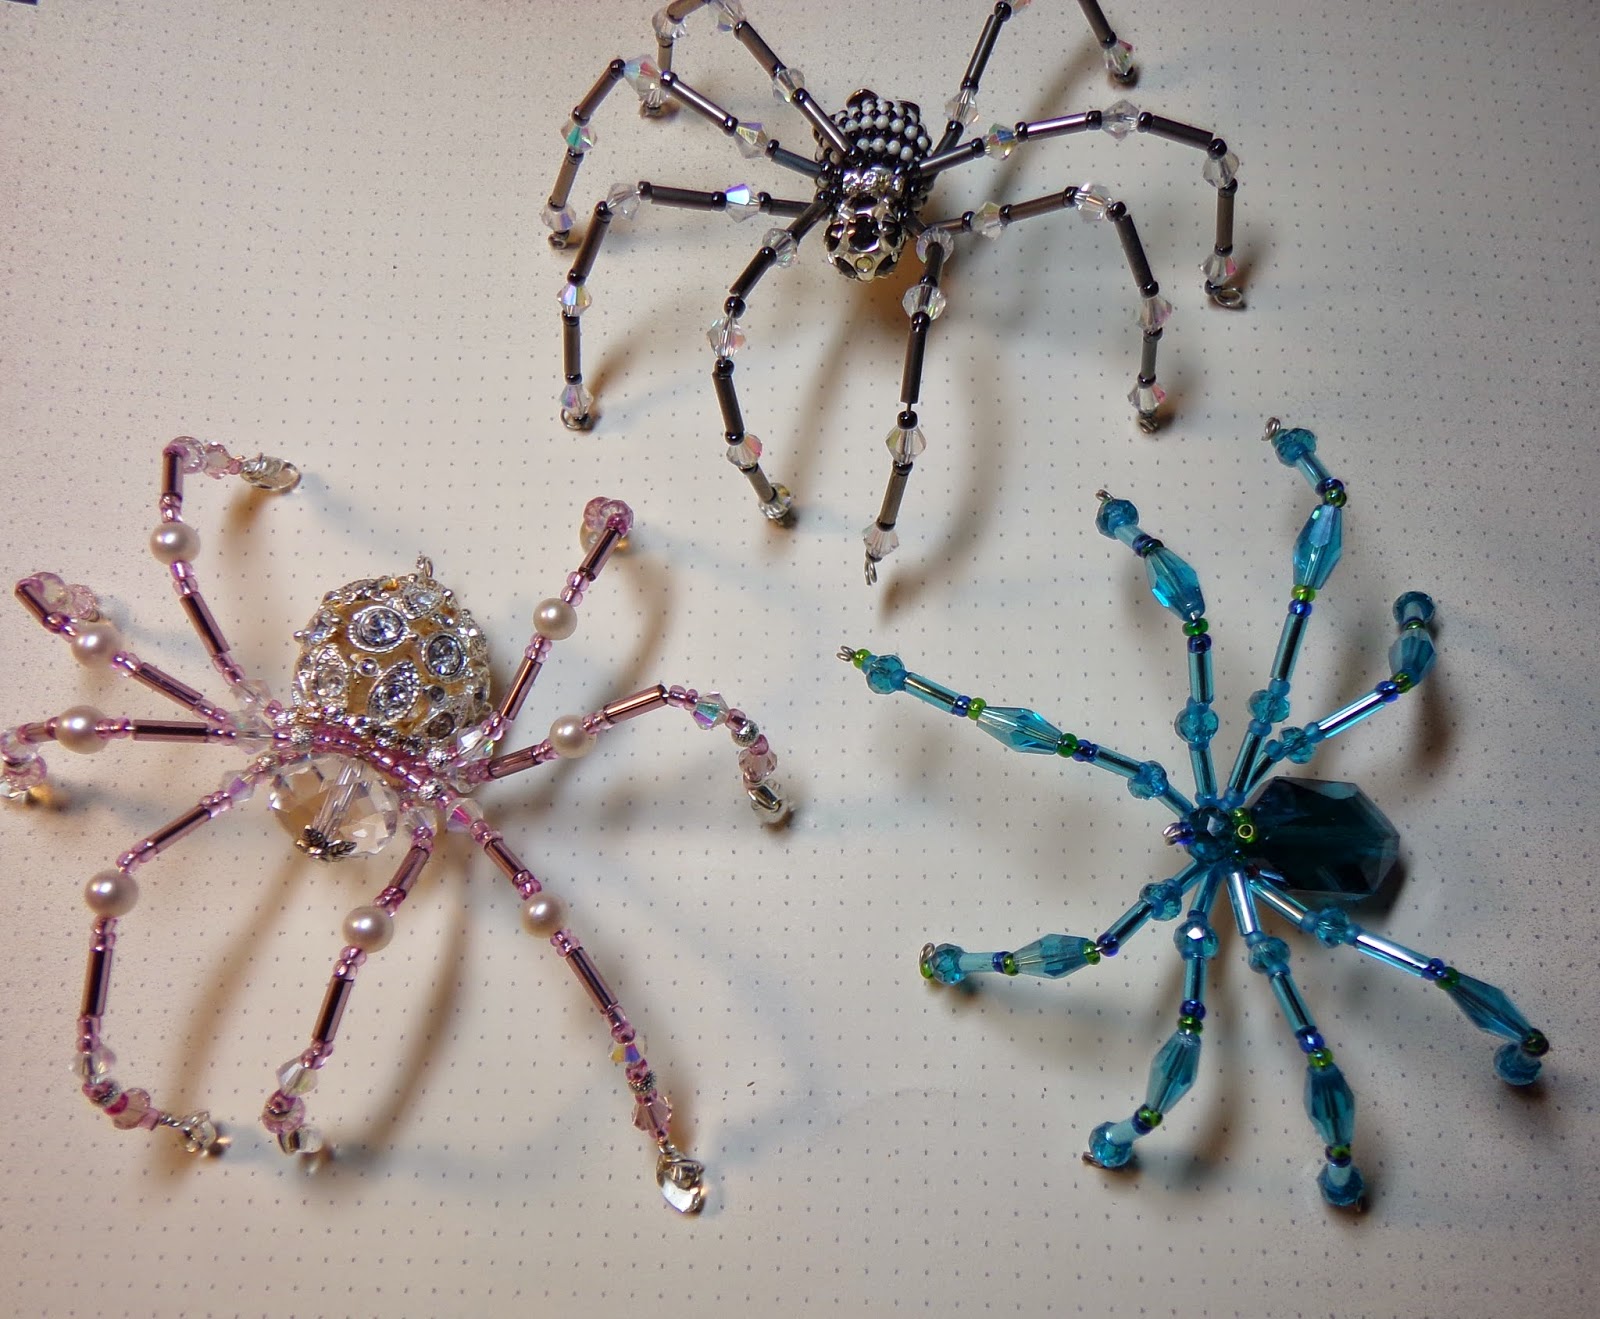
Spiders made from Beads and Wire - in time for Halloween
There are many tutorials online showing how to make a variety of beaded spiders. I would have never guessed they were so easy to make until I came across this 3 minute video by BeadClub. My nieces and I spent 2 nights watching tv, making spiders, and enjoying conversation. They are soooo much fun! The video I watched is no longer available on YouTube but I found another easy to follow tutorial by Emilie Lefler (you can easily search for others as well) Here's a link to the quick video and a few pictures of my first creations. BEAD SPIDER TUTORIAL by Emilie Lefler
https://www.youtube.com/watch?v=alr_GaooeaQ
https://www.youtube.com/watch?v=alr_GaooeaQ
Saturday, September 13, 2014
Alice in Wonderland Assemblage Clock Night Light using Oxford Impressions Stamps, Tim Holtz products, Handmade Embellishments
Finally decided to take the Tim Holtz Idea-ology Assemblage Clock out of its package and make a fun Alice in Wonderland inspired night light. I used Graphic 45 paper for the background of Cheshire Cat, Oxford Impressions rubber stamps "Classic Alice" for all the figures, embossed with Ranger black UTEE (colored with Spectrum Noir markers), handmade and purchased embellishments. If you have a question about anything just leave a comment :D ... now down the Rabbit Hole (....of photos)!
 |
| There's some texture paste inside the clock too :D oh and the little Q<3 and the knight's cards are from the web as well, just made them different sizes and printed them out. |
 |
| Little fuzzy, just wanted to show off the mushrooms! The red ones are purchased and the one with the face I made from polymer clay. |
 |
| I cut the head, arms and legs off the knight and glued them around a little card I printed out. |
 |
| You can see where the candle "LIGHT" is poking through, even though you can't see it in the pictures, it's tucked behind the Queen of Heart's dress. |
Saturday, August 30, 2014
Artist Trading Block - with Victorian twinge and Corset Top Hat and Luminary Night Light
A recent craft trend (at least for me) has been the ATB or Artist Trading Block. Some have called them "Chunky ATCs". I joined one of the recent swaps on The Craft Hole for a one-on-one swap for a 3" x 3" ATB, so this is my first ATB.
The corset is made from a paper towel (formed around a doll bodice and decoupaged). This one was a gift to me from Andrea (http://talkinghorsesarts.blogspot.com) last year and I've been waiting for some fun project to give me a reason to decorate it. The top hat is made from chipboard and wrapped in embossed aluminum ventilation tape. The 3"x3" box is made from cardstock with chipboard overlay & Graphic 45 paper. Wooden knobs, painted for feet. I used Tim Holtz' smallest circle die to make "windows" on each side so the flickering battery operated tea light, nestled in roses, could shine through for a night light. The clear resin pieces were made from molds by me and the clay corset was also made from a mold. Thanks for looking!
Wednesday, July 16, 2014
Dark Forest Peacock Feather Birdhouse from Sizzix die and Inka Rubs
Again The Craft Hole posted a challenge that got the fun creative juices flowing. The challenge was simply to decorate your own birdhouse. I had the Sizzix 3D Rounded Birdhouse Die and had not yet used it so it gave me the opportunity to give it a try.
Tuesday, July 8, 2014
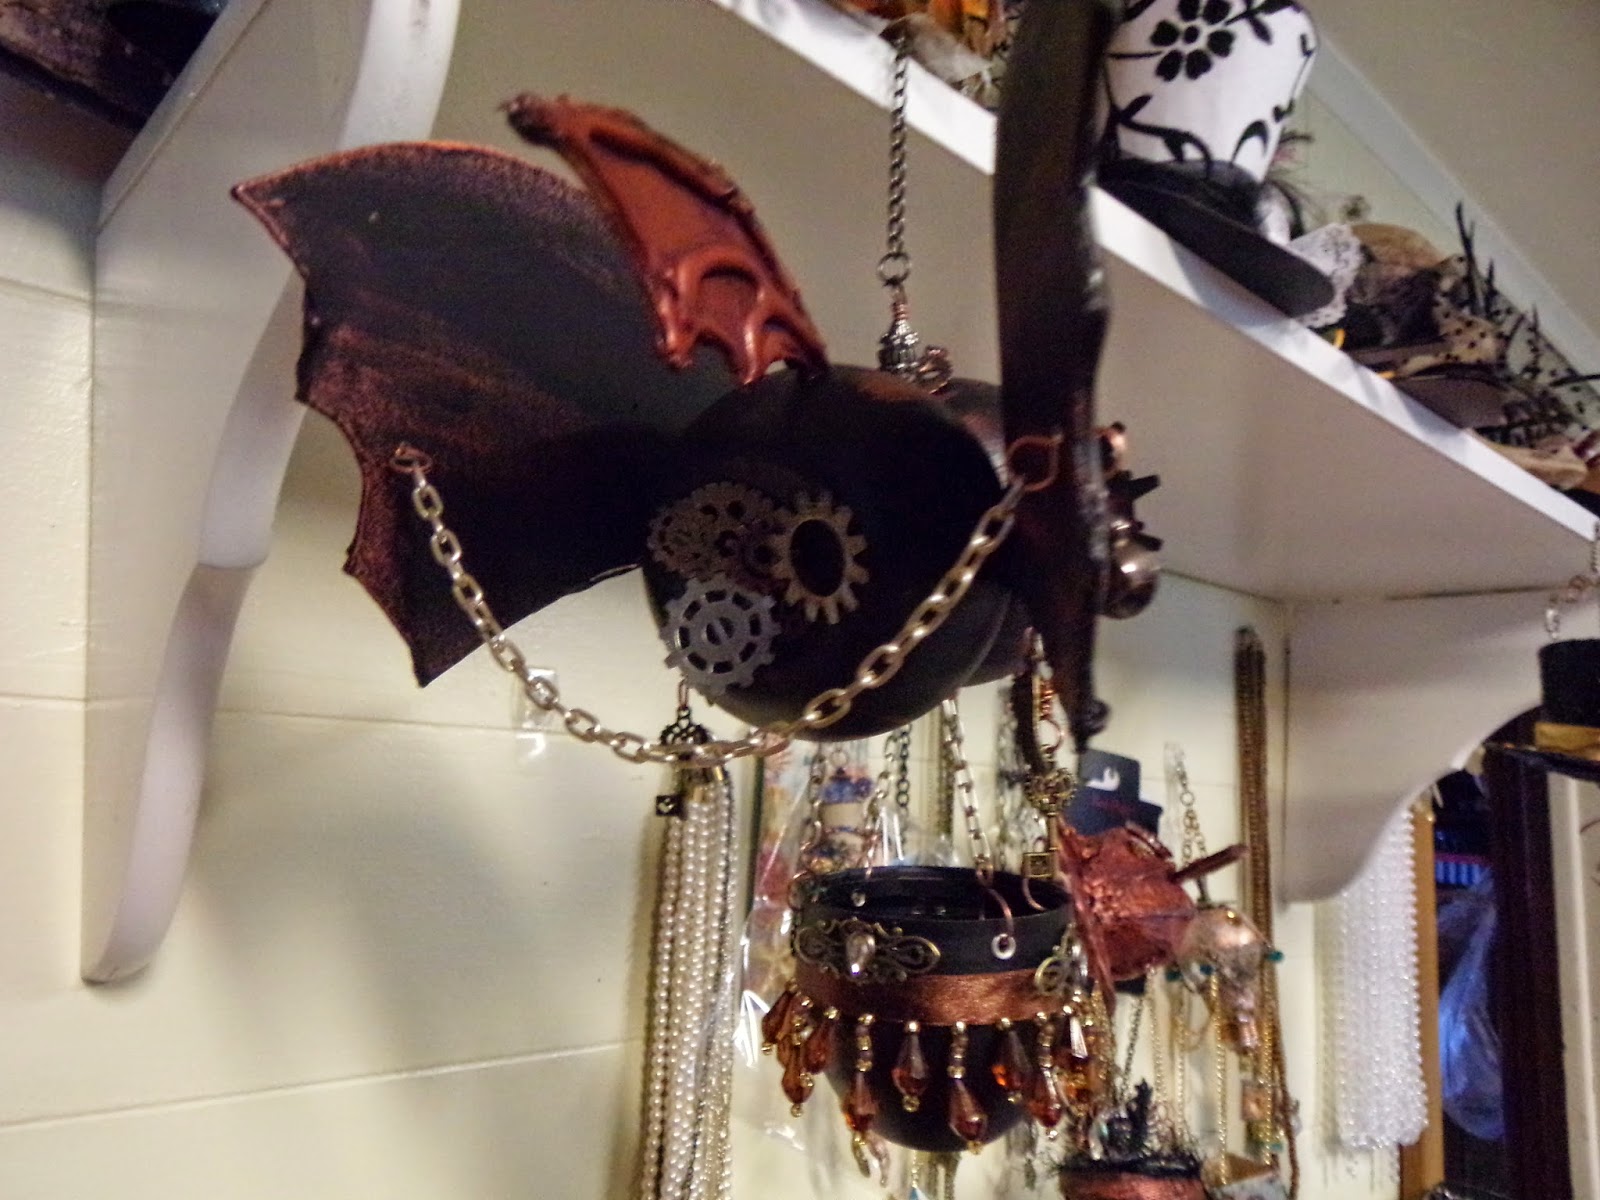
Steampunk Zeppelins from Upcycled Trash (Hot Air Balloons on the way)
Using drink bottles, plastic cups, detergent caps, broken ink pens and chipboard scraps with aluminum foil and charms/chains from my stash - had a ton of fun putting together a little steampunk decor. The big gears cut from chipboard are cut from a Tim Holtz die. Wings were handdrawn.
Saturday, June 28, 2014
Dia de los Muertos ( Day of the Dead ) Rosette Challenge with Handmade Flowers
Another challenge from The Craft Hole! Friday night challenge, to create a rosette (at least 6") and decorations/theme is up to you :) I had already found this clipart on the net and had it mounted on chipboard with some Triple Thick coating so it worked perfect to have a Day of the Dead rosette. Dotted paper from BoBunny, all solids, including the handmade flowers are by Bazzill, stamens and feathers just from my stash. The banner is another clipart printed on the cheap white cardstock from Walmart.
Subscribe to:
Posts (Atom)


.JPG)


.JPG)


