Tuesday, December 3, 2013

Christmas / Angel Domino Book with Tim Holtz Luminary display

Made a little domino book and a display for The Craft Hole (FB craft group) thought I'd share a couple photos here too :)


Friday, November 29, 2013

Cathy Childs Morrison - winner of Tim Holtz Die GiveAway


Thanks to all those who signed up to follow my blog and subscribe to my YouTube channel -- whenever I do a random winner for a giveaway I will have the winner randomly chosen by one of my nieces, nephews, or my son (so if you're already signed up then you're ready to be included in the next giveaway).  The giveaway winner for this round is Cathy Childs Morrison.  I had my niece pick out a winner right after she finished eating Thanksgiving dinner.  Cathy,  I'll send you a message through YouTube for you to private message me what address you would like the Toy Soldier die mailed to.  Thanks for playing along :)

I'm thinking the next giveaway should be charms or embellies of some kind.

Sunday, November 24, 2013

Handmade Steampunk Top Hat (TopHat ) Treasure Box - ( using Tim Holtz circle die, alcohol inks and rivet embossing folder )

Started playing with some heavy chipboard and aluminum ventilation tape and just fell in love with the results.  It seems like when you use Tim Holtz fabulous products on anything, you just can't go wrong.  These started off as a way to pass a few moments and ended up being a new way for me to give tiny gifts (like a little baggy of charms in this case):  (short video on these at:  http://www.youtube.com/watch?v=aSgDB92VXXk )

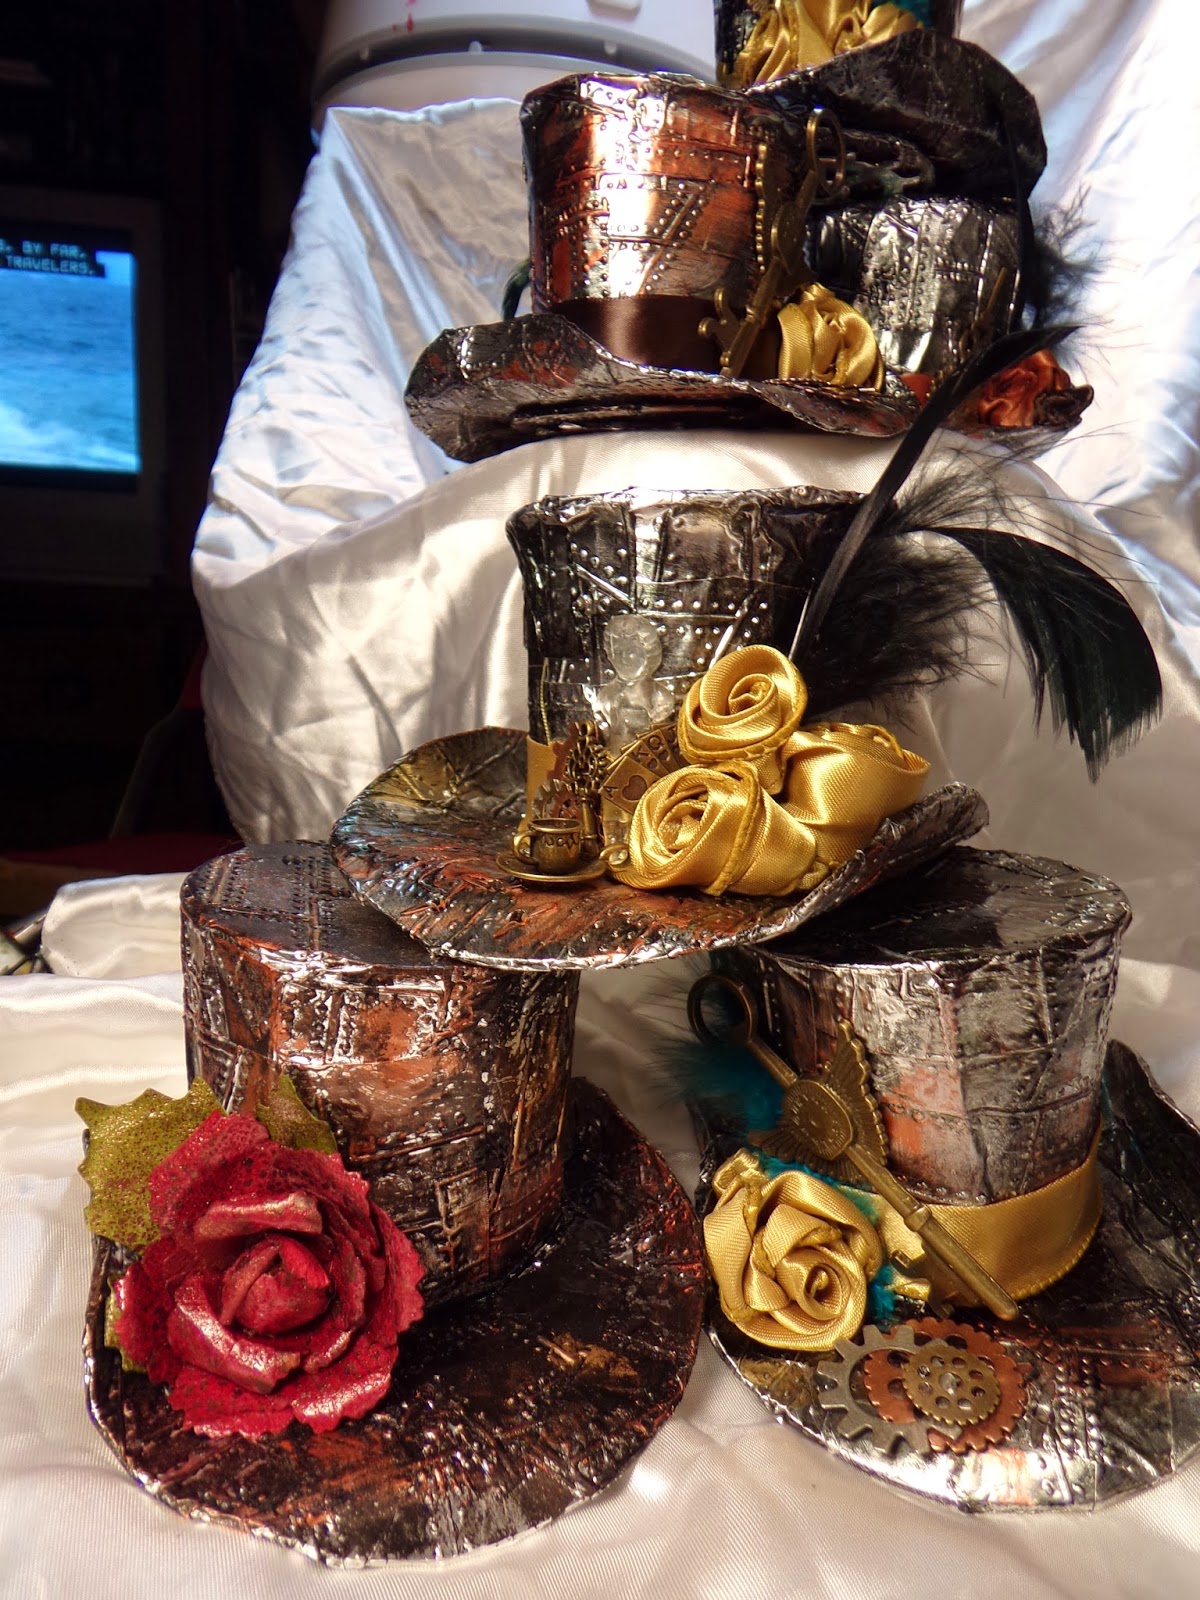
On this one I lightly scorched the ribbon flowers with an embossing gun to give it more of a "melty" look


Thanks for visiting my blog!  and remember to check out the GiveAway for the free Tim Holtz Toy Soldier Die (winner chosen 11-28-2013) :)


Friday, November 15, 2013

BLOG GIVEAWAY - TIM HOLTZ TOY SOLDIER ALTERATIONS BIGZ DIE by SIZZIX


( I will ship internationally as well as the USA)
2 Easy Steps to be eligible to win: 
FOLLOW this BLOG by clicking the "Follow" button to the right and
FOLLOW my YouTube Channel (here's a video link to make it easier to find)  https://www.youtube.com/watch?v=7qzKoKEh434  - just be signed in to YOUTUBE and click the SUBSCRIBE button under the video
That's it!  This die is soooo fun for the holidays.  I will have one of my nieces or nephews pick a winner on Thanksgiving - NOV. 28th - so you must be signed up by then.  I will post the winner's name here and will send them a message through their name link.   Here's a little about it:

VIDEO:

or read:
The finished toy soldier is approximately 1 3/4" x 4 1/2" tall - the die requires you to have a die cutting machine and was made specifically for the BigShot, BigKick or Vagabond machines (but I have friends who have used theirs in the Cuttlebug die cutting machine also ) ... you do have to have the basic plates to use it.  It cuts through cardstock, thin metals and foils, felt, material, leather, foam, craft magnet and more.  The die itself is 5 1/2" x 6".  Winner receives 1 (ONE) new die.  This die does cut eight parts so you can embellish your toy soldier.
ONE RULE:  I can not have met the winner in person - internet communications are ok just never have met face-to-face -- just don't think that's fair :)
DO I DARE say it this early ... yep
HAPPY HOLIDAYS!!


Sunday, November 3, 2013

Extreme Steampunk Spells Halloween Handmade Mini Album

Steampunk, the fabulous genre that mixes Victorian with futuristic sci-fi steam-powered Industrialism that occasionally adds touches of fantasy, magic and horror, has infiltrated the crafting world and I have to admit that it has sunk its riveted clutches into a huge portion of my brain.  If I lived in a more eccentric accepting area there's a good chance I would be shoving my chubby butt into a metal clad corset and Top Hat.  However, probably not such a great chance I'll do so being enveloped in the surrounding potato fields of Idaho. Thus, I'm left to incorporating my love for all things steampunk into my crafting.  My latest steampunk inspired creation is a Steampunk Halloween Mini Album.  


I plan on doing a little YouTube video on this album in the next day or two but in the meantime, here's some (some = a ton) photos.  I love comments and any thoughts you have, so don't hesitate to leave a message and "follow" the blog :) (HINT:  There's a Tim Holtz die give-away coming soon) 
This is the cover ... using Graphic 45 Steampunk Spells paper line and DCWV Tattered Time paper you just can't go wrong.  The die used for gears, the metal label frame, clock hands, and embossing folder used on the binding are by Tim Holtz, as was the Charlotte doll that I used to make my own silicone mold in order to make the resin flat backed doll.  I die cut corresponding gears out of ventilation aluminum Duct tape and embossed it before applying to the chipboard gears, then added color with Ranger alcohol and patina inks. I made the letters spelling STEAMPUNK out of resin using one of Martha Stewart's silicone molds.  If you would like specifics on any of the items please comment and I will get back to you as soon as I can.
Here's the video or there's tons of pictures below:  http://www.youtube.com/watch?v=7qzKoKEh434

This metal skull and Top Hat were part of a ring that I "disassembled"  -  Also, the spine is heavily reinforced to be able to hold all the embellishments in this mini album without tearing or falling apart.
The tiny tiny gears you see (one over the eye and other on the wingnut) are in the Prima - Junkyard Findings collection.


I made the Top Hat  from polymer clay and added the dangle with beads and a penny-farthing (bike)
This little "cup" is from Stampin' Up and fits perfectly inside one of the gears.  The items inside can then move around as the book is turned.

A few of the interior pages below:

The little "light bulb" tag pulls out of a tiny pocket
t
A thin magnet hidden under the paper helps keep these flaps held shut.

Lots of room for photos and journaling after you raise the flaps.


Untie the ribbon and there's so much space on the front and back of the fold out and more tags under the owl flap.
There's loads of goodies inside the raised clock and lots of tags in the little pocket.


 The tag that pulls out from under the photo mat of the balloons is part of a swap return from X. Montano.  I added  a few metal rivet eyelets and a little to the back but wanted to make sure she got credit for her beautiful addition.
One of my favorite parts is this lady  that I fussy cut from Graphic 45's Steampunk Debutante paper - I put in some tiny metal washers under the brads so she could have loads of movement.  Before cutting her out, I glued a piece of black cardstock behind her, added several layers of decoupage glue, then a coat of acrylic sealer so she would stay sturdy and not easily bent from wear and tear.


 This little Book of Spells is held in place not only by the chain, but also by 2 bent clock hands :)

Thanks for looking - adding a video soon.


Saturday, October 12, 2013

CAPTURED (and FORGOTTEN) DEAD FAIRY JAR / CAGE with Chunky Charm Dangle and Tag for Halloween

Well, I made this realllllly fast - but now I realize that I definitely HAVE to make a more detailed version as it gave me that inward "creepy fussy" feeling (as opposed to the warm fussies) -- Remember as a kid? You would catch bugs or lizards and just love them and put them in a jar ? Then days later you would find them all dry and dead.  You didn't water or feed them, didn't remember to turn them loose? Hey, I love a beautiful Captured Fairy Jar as much as the next person! but this is what happens when you forget to feed and water  them ... MWHAHAHAHA ... and yes I will be doing one a larger one with more embellies and scene in the future.  This is just a 30 minute version that you could easily make and give as a quick gift (dangle optional) for Halloween or Day of the Dead.

 
MWHAHAhahaha
To get the little cheap dollar store skeletons to bend and fold, heat them with an embossing / heat gun, being sure not to melt them (or you) and bend them (while hot and bendy) to the position you want, hold them in place while they cool.  Then scrape and pull thin hot glue all over them.  Add alcohol inks for color after the hot glue dries.

Don't forget to age your cage !! woot "poet and didn't know it"

The flowers are synethic material cut in three different sizes of circles (no need to cut a perfectly round one) then scorch the edges with a flame.  Glue them together, put a glob of hotglue in the middle and quickly cover in the seedbead color of your choice.  Instead of flower leaves, I just used a fake autumn maple leaf behind the flower for leaves.  I made this tag really simple so you can just pop it out fast.  REMEMBER CRAFTERS - it's Halloween!  Don't measure edges, they're suppose to be creepy and uneven.
 
 
No comments needed about the sad state of my fingernails ... obviously I didn't listen to my mother when she tried to enforce "Fingernails are embellishments to adorn you, not TOOLS!"

Mixed Media Altered Steampunk Witch word for Halloween using Graphic 45 papers and more.

FYI same blogger as www.PutTheGlueDown.blogspot.com (Lisa Leavitt) - I'm just starting www.JuJuCrafts.com (hopefully by next year - there's a few pics on there now) so I needed a blog to match it!!  Once I get this one up and running well, I'll stop posting to PutTheGlueDown.
 
Mixed Media Altered Steampunk Witch word for Halloween
 Overly Embellished (just the way I like 'em) ... All papers used are by Graphic 45 - Steampunk Spells and Curiosity Shoppe lines.  Loaded up with metal charms, handmade resin pieces, findings and more.  Just in time for Halloween!
Fairy king met his match with these witches.  Love that gemmed metal spider crawling up his leg.  I inserted an orange rhinestone in the top of the crown because the glue was so obvious that I applied to get the crown to stay, so I had to cover it up.  A tiny pumpkin (that came off an old Halloween necklace) got a dash of Rust colored Adirondack Alcohol Ink before it was glued in place beside him.
The Ouija Board is a clipart print off and I used Glossy Accents to apply it to a metal flat frame.


I found this heavy duty spring at an army surplus store and the bird was once a brightly colored dollhouse size bluebird ... before he met his demise.

I fussy cut two of these ladies from Graphic 45 Curiosity Shoppe papers, between the cutouts I glued a handmade broom.  The broom is copper wire covered in hot glue stained with alcohol inks.  Burlap strands were wrapped at the bottom and a couple of gears attached with E6000 glue.  The knob is Tim Holtz.  The tiny bottle is filled with orange and black plastic pieces and waxed shut with two mini wings attached with dark brown thin hemp twine.

The metal piece around the moon over the clock charm was in my stash of rusty findings.

A clock gear pokes out of a skull bead that I altered and tucked in with the black lace.  The little black figure is a handmade resin Charlotte dyed black with Adirondack Alcohol Ink.

This was what it started out as :) It's about 12" x 7" and a little over an inch thick. They were cut by a local craftsman and are at the Stinkin' Cute Scrapbook Shop & Boutique in Blackfoot, ID  (208-785-0780) a locally owned shop.  If you would like for me to go buy one and ship it to you, it will cost $25 ( USA shipping only (sorry int'l crafters - but it would probably cost about $20 to ship).  I don't make or carry them but I do have Paypal and don't mind running out.  There were only 3 left!  So if you want one they are open Tuesday - Saturday from 10-5.