




We all have those goto YT channels of people that inspire our creativity. One of mine is Eduardo Talbert who creates Monster Tutorial videos. If you love making at home ooey gooey and Halloween decor and props he brings it down-to-earth with supplies that most of us have (if you're a crafty person) or that you can easily get. Recently I watch his ROTTEN GOURD TUTORIAL and was inspired. He used a foam home decor gourd from Hobby Lobby (I think) but I didn't have one and no way to get to a craft store while the creative juices were flowing so I knew I had to come up with an alternative.

I grabbed a bunch of plastic bags from previous shopping trips and taped them in the shape I wanted using masking tape (something PVA glue will adhere to). My poofy "armature" ended up being close to 15 inches tall. I added a layer of single-ply paper towels by brushing them (saturating) in a mixture of 1/2 PVA (Elmer's) glue and 1/2 water - you can always make more so start of with a 1/2 cup each. After a few projects I found it was just easier to buy Elmer's by the gallon (from either Walmart (right now as of Sept. 2020 a gallon of Elmer's is $11) or Amazon). LET THAT LAYER DRY COMPLETELY. I then added a strong piece of curled wire in the "handle" end to hang a leaf.
Then add additional layers of single-ply paper towel strips or newspaper you've torn to strips. Allow to dry completely every 2-3 layers so you don't end up with trapped moisture and a potential for mold or soft spots. I only did about 6 layers but if I had it to do again, I'd probably do at least 10-12 - especially if I was going to sell it.
For the final layer (or two) start squishing and wrinkling the paper strips to give texture. The final layer is toilet paper because it makes a much more detailed surface of lumps, creases and bumps.
Let thoroughly dry.
Paint a base coat with acrylic paint or spray paint. I used acrylic brush on for Daniel and did a primary coat with purple chalk paint (mixing Waverly Chalk Paint (a red and blue) to get a base.
 |
| You can see the variety of plastic bags inside. I decided to leave them to help hold up the teeth. |
After it dried I cut out a mouth shape and little holes where I wanted the nose and eyes and packed in some aluminum foil. Painted the foil black and sealed to mache with a little resin.
I used Apoxie Sculpt for a tongue and eyebrows. Since there's a lot of little nieces and nephews coming by I wanted something sturdy in case a little hand decided to pull on the tongue. Added in premade eyes and painted the rest.


A metal leaf taken off a Dollar Tree Halloween decor piece added the right touch after being dabbed with brown and gray paint.
 |
| For the fuzzy "mold" see the Monster Tutorial video linked above in the first paragraph. |


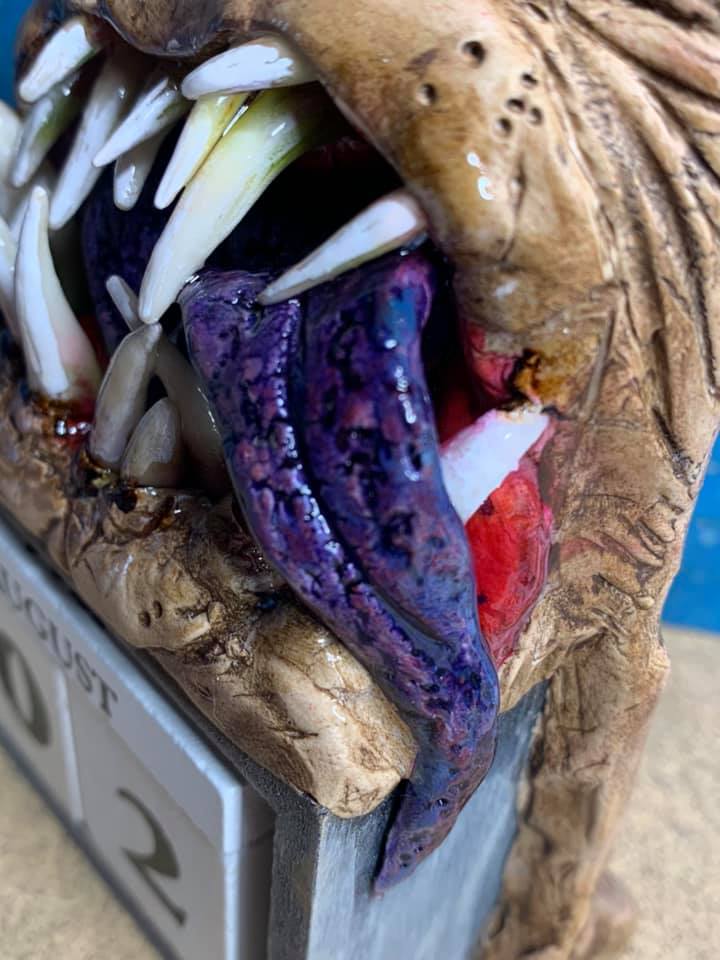
I found an inexpensive perpetual calendar but it was fairly plain. Added some cold porcelain handmade teeth and some APOXIE and giggled when my adult son critiqued, "It looks like an angry PopTart." I just love him ... hairy moles and all



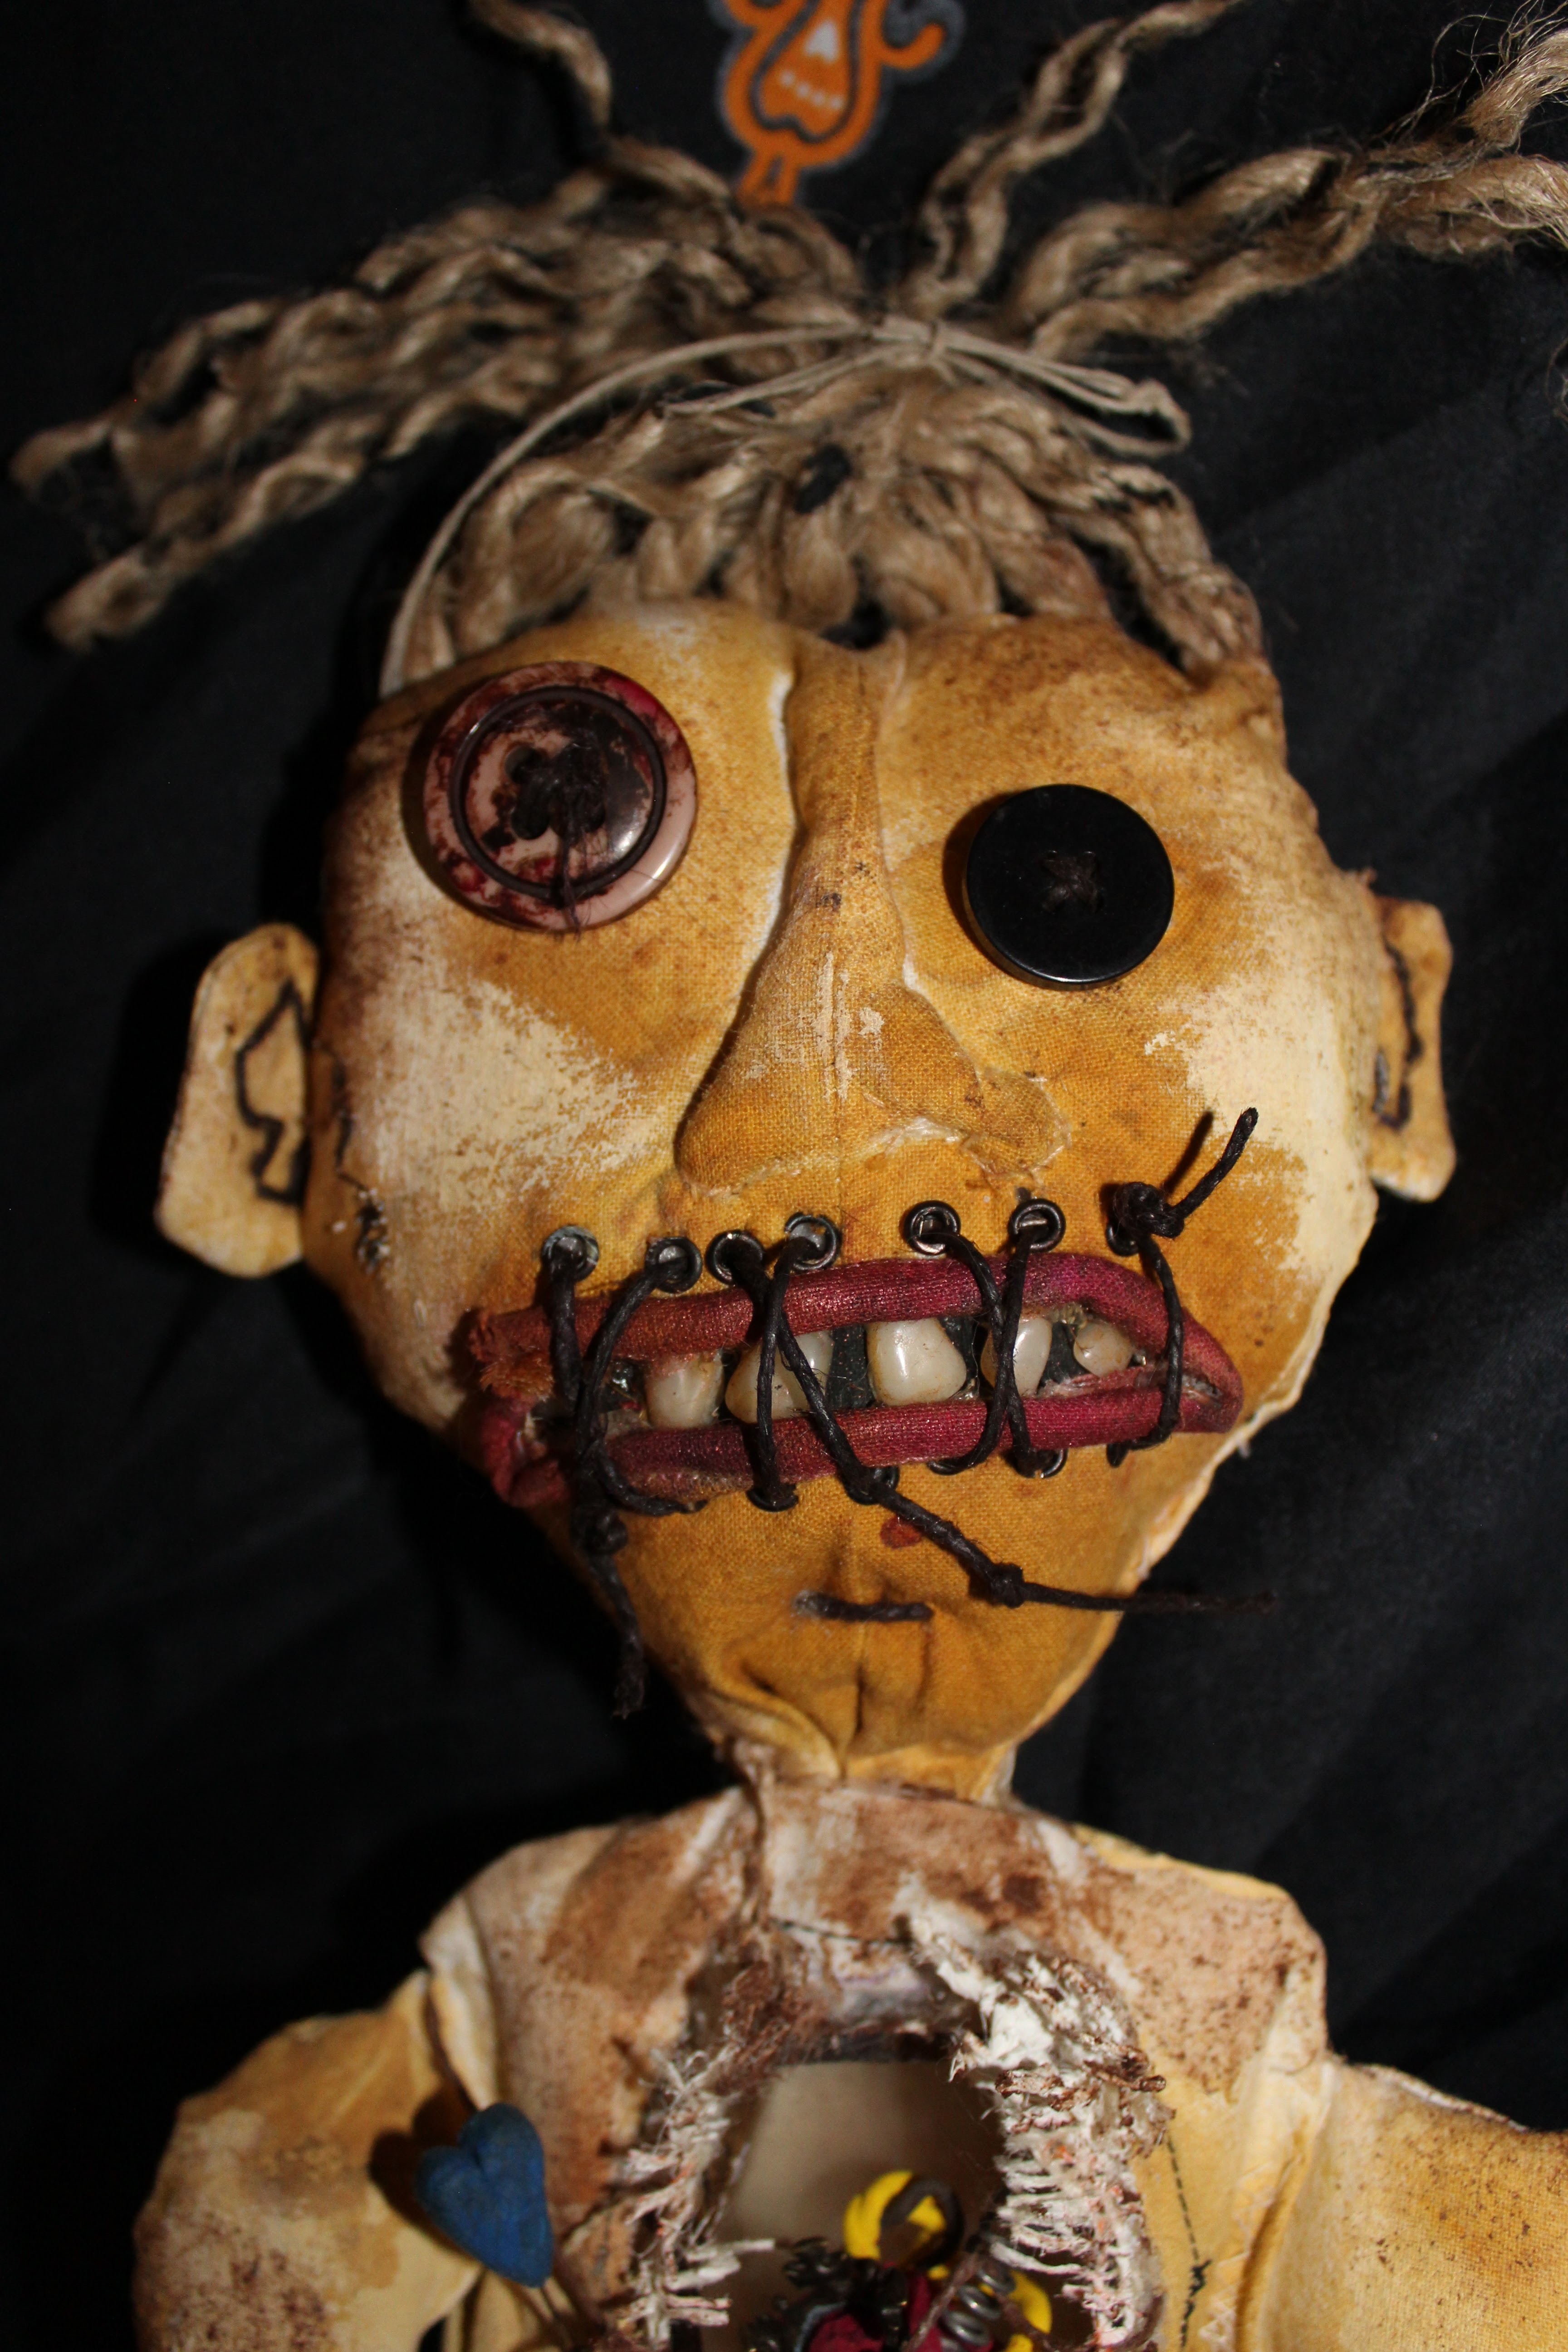
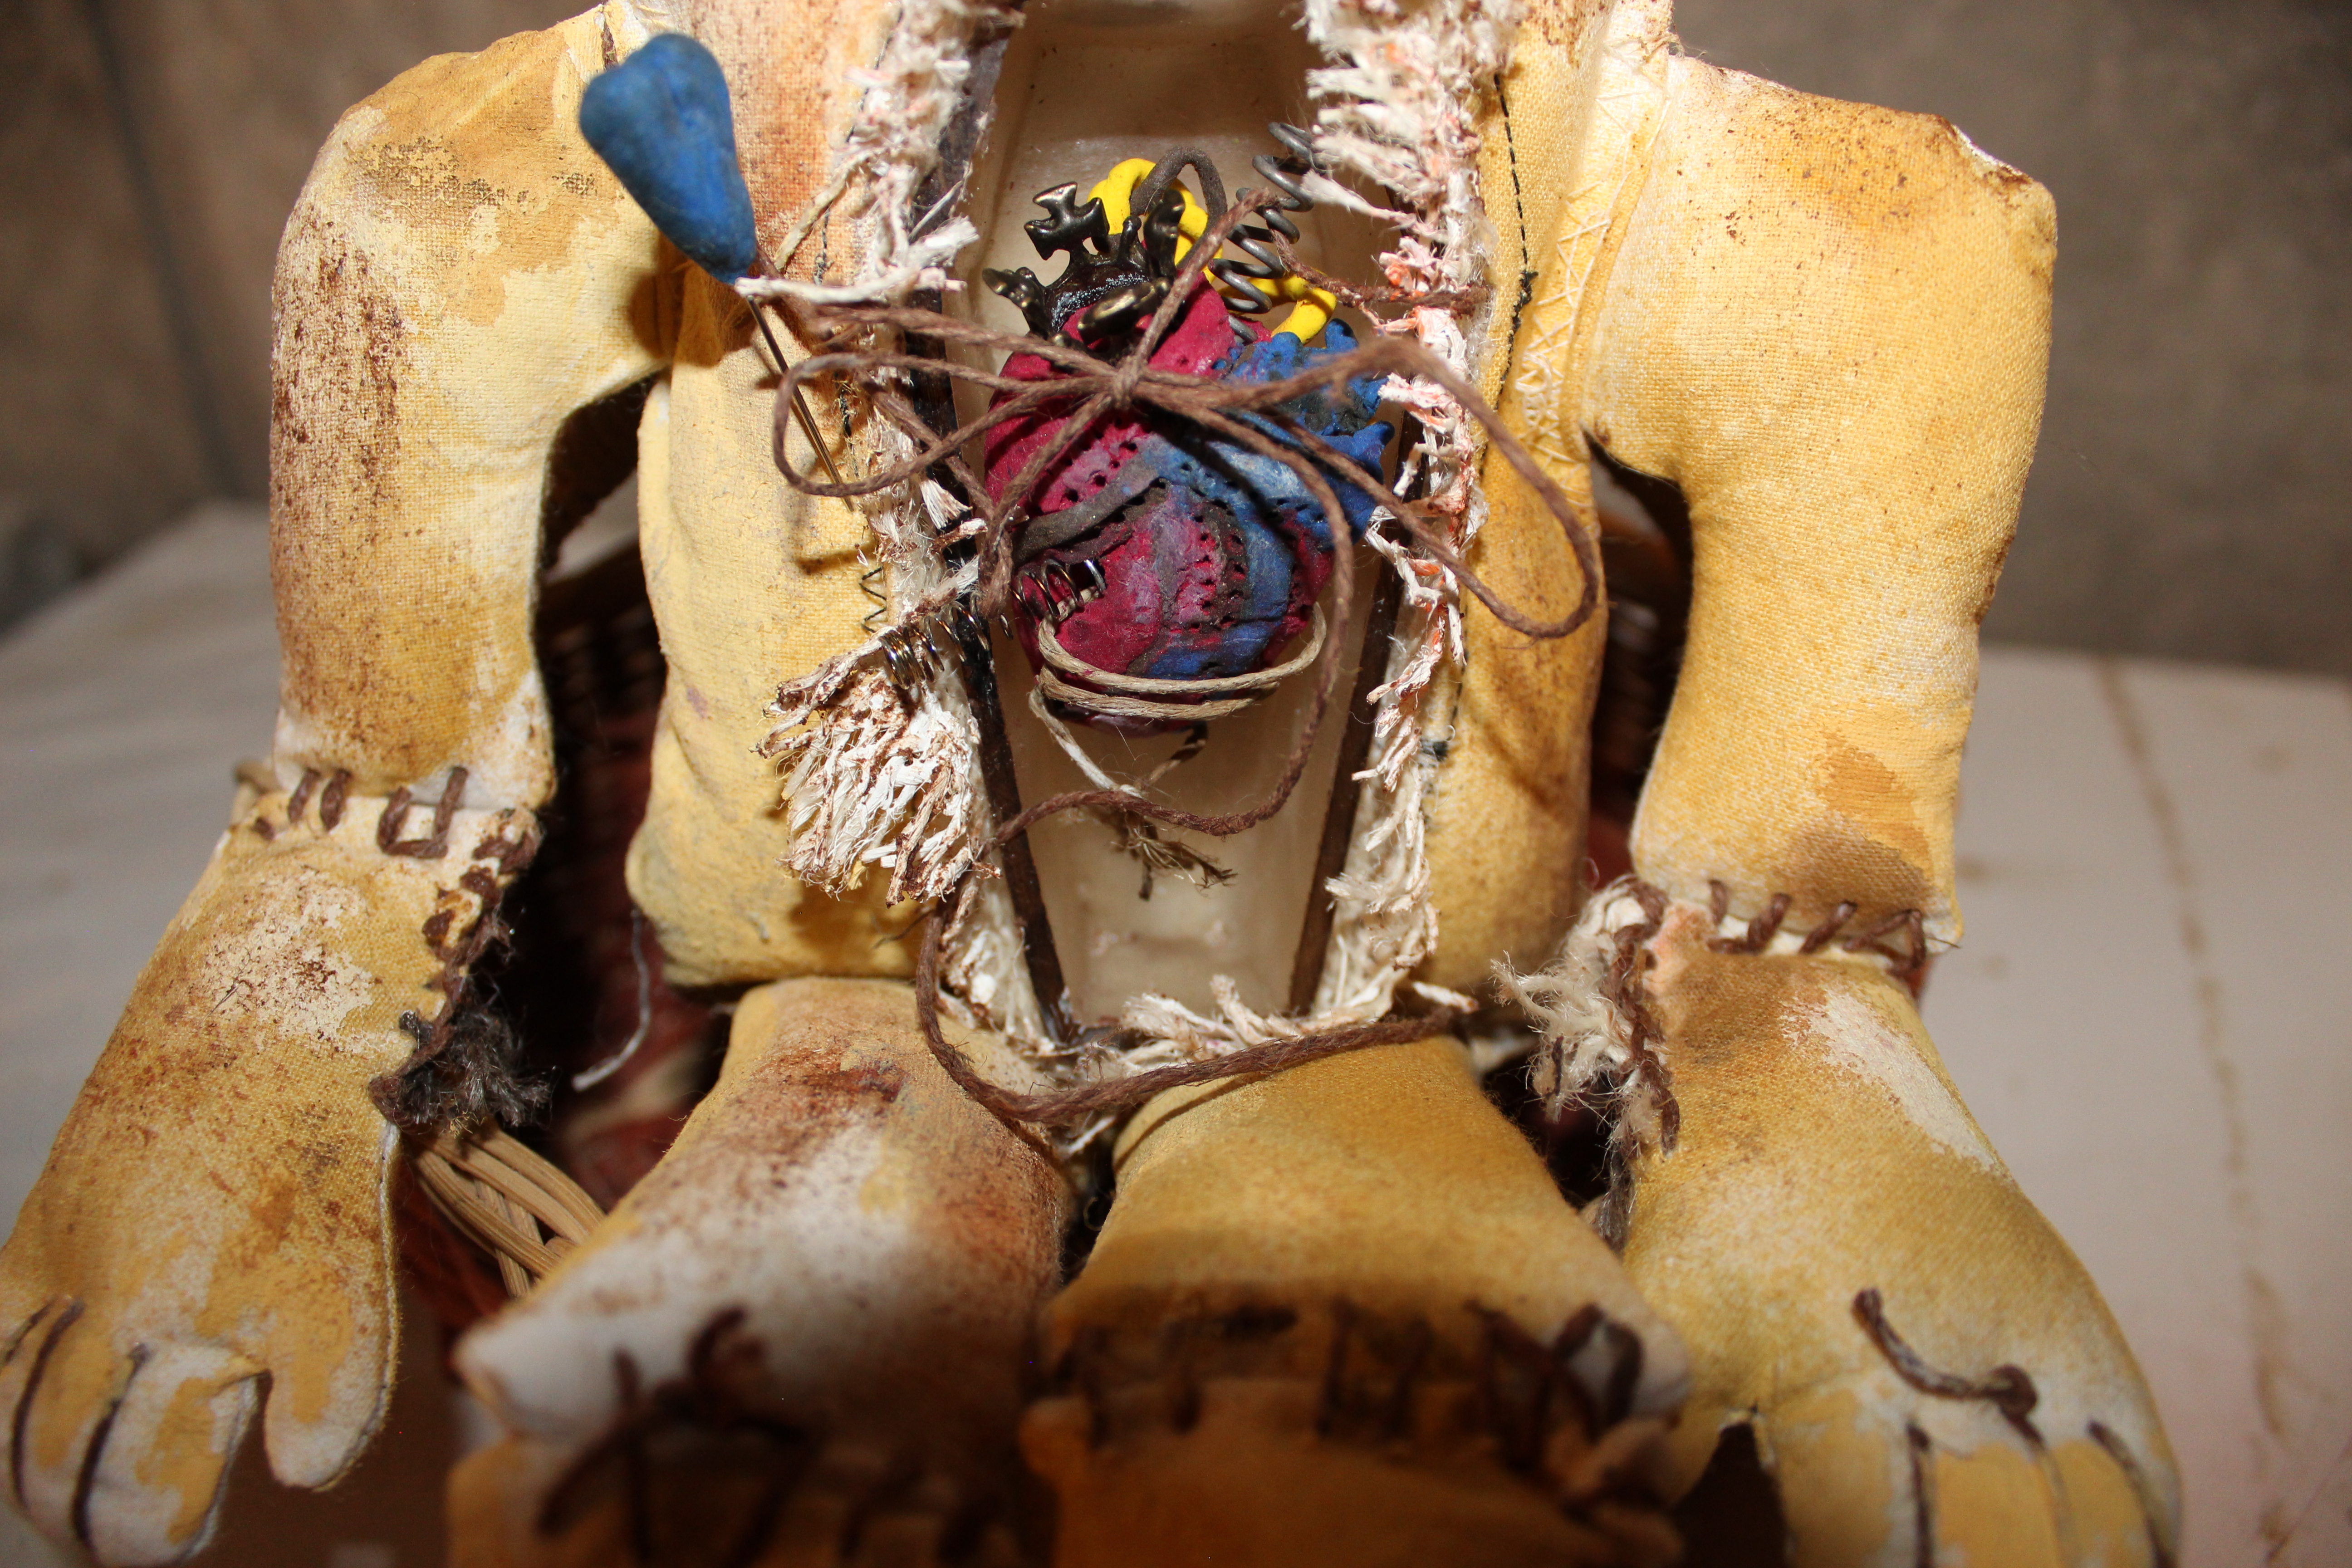
Months ago I started playing around with some fabric, resin and clay and out he came in his toothy glory. He is already in his new home with a loving owner but I just had to share his wonky little face and body, I love his look, and his little clay heart, with matching stick pins, all tucked into a resin coffin. From what he whispered in my ear, Mr. Stitches should have a sister arriving sometime around Halloween who will be looking for a home. Although he decided to stay in the "buff" ~ she will most likely have on some holiday attire.
He's almost 2 foot tall and seemed to like the dark places where the creepy crawly things lurk in the corners. - here's pictures of him hiding in the basement on top of a permanently stained old freezer, he wouldn't let me look inside, wonder what (or who) he's hiding in there?
Do you feel the Autumn breezes rolling in?



 |
| Half back "bubbles" are plastic pieces from my stash except the one the mermaid is holding in her hand is a glass piece, its a bezel cover. |


